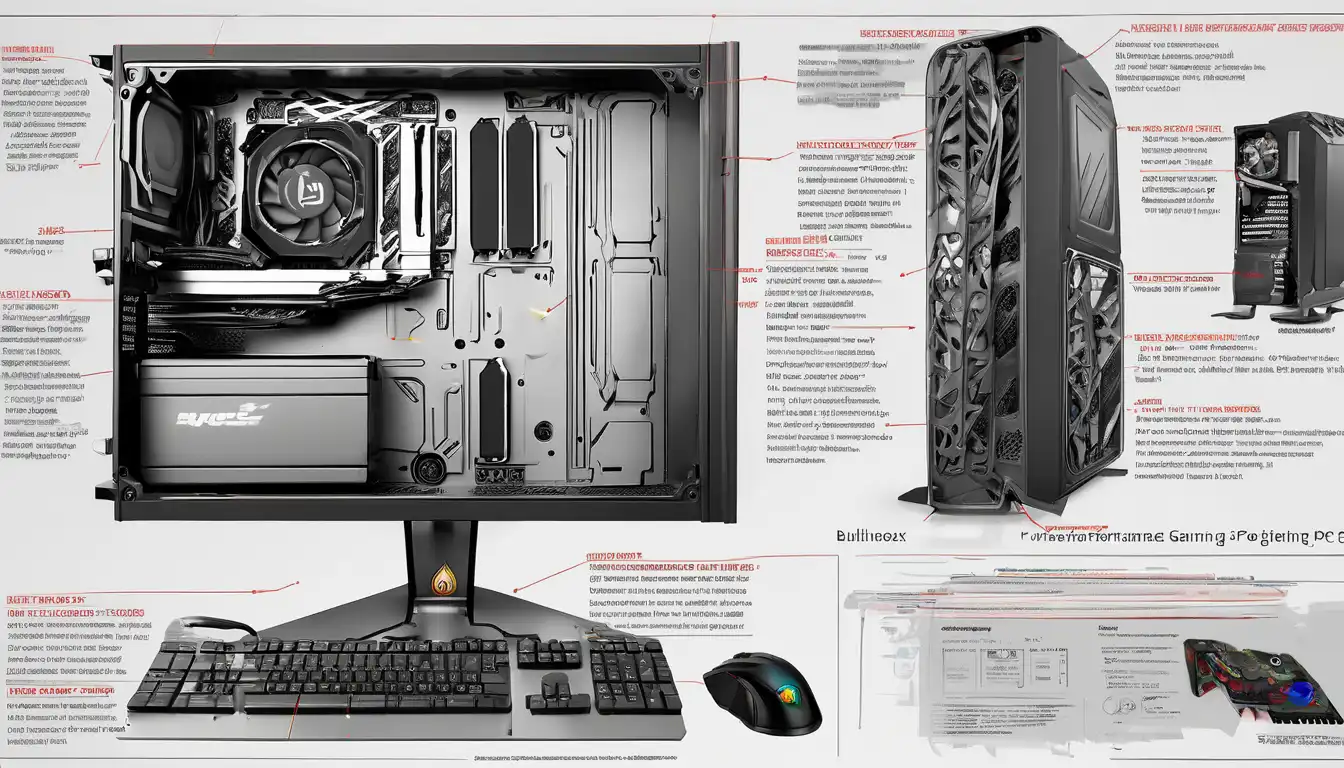
Introduction to High-Performance Gaming PC Assembly
Building a high-performance gaming PC is an exciting journey that combines technical knowledge with creative expression. Whether you're a competitive esports enthusiast or a casual gamer seeking immersive experiences, a custom-built gaming computer offers unparalleled performance and customization options. This comprehensive guide will walk you through every step of creating your dream gaming rig, from component selection to final assembly and optimization.
Essential Components for Your Gaming PC
Central Processing Unit (CPU)
The CPU serves as the brain of your gaming PC, handling all computational tasks. For gaming purposes, focus on processors with high single-core performance. Intel's Core i7 and i9 series, along with AMD's Ryzen 7 and 9 processors, offer excellent gaming performance. Consider your budget and gaming requirements when selecting between these options.
Graphics Processing Unit (GPU)
Your graphics card is arguably the most critical component for gaming performance. NVIDIA's RTX 40 series and AMD's RX 7000 series represent the current generation of high-performance GPUs. When choosing a graphics card, consider factors like VRAM capacity, ray tracing capabilities, and your monitor's resolution and refresh rate requirements.
Memory (RAM)
Modern gaming demands substantial memory resources. We recommend starting with 16GB of DDR4 or DDR5 RAM as a minimum, with 32GB being the sweet spot for high-performance gaming. Ensure you select RAM with appropriate speeds and timings that are compatible with your chosen motherboard and CPU.
Storage Solutions
Combining different storage types can optimize both performance and capacity. An NVMe SSD for your operating system and frequently played games provides lightning-fast load times, while a larger SATA SSD or HDD can handle additional game libraries and media files.
Step-by-Step Assembly Process
Preparation and Safety Measures
Before beginning assembly, ensure you have a clean, static-free workspace. Gather all necessary tools, including screwdrivers, cable ties, and thermal paste. Always ground yourself by touching a metal surface before handling components to prevent electrostatic discharge damage.
Motherboard Installation
Start by installing the CPU, RAM, and M.2 storage devices onto the motherboard before placing it in the case. Carefully align the CPU with the socket, ensuring proper orientation. Apply thermal paste in a pea-sized dot before mounting the CPU cooler according to manufacturer instructions.
Power Supply and Cable Management
Install the power supply unit in its designated compartment, ensuring adequate ventilation. Route cables neatly behind the motherboard tray to maintain optimal airflow. Proper cable management not only improves aesthetics but also enhances cooling efficiency.
Component Integration and Testing
Connect all components to the power supply and motherboard, double-checking each connection. Before closing the case, perform an initial power-on test to verify all components are functioning correctly. This preliminary testing can save time troubleshooting later.
Performance Optimization Techniques
BIOS and Driver Updates
After successful assembly, update your motherboard's BIOS to the latest version and install current drivers for all components, particularly the graphics card. Regular driver updates can significantly improve performance and stability in newer games.
Cooling System Configuration
Proper cooling is essential for maintaining peak performance. Configure your case fans to create positive air pressure, reducing dust accumulation. Monitor temperatures using software utilities and adjust fan curves as needed for optimal cooling performance.
Overclocking Considerations
For enthusiasts seeking maximum performance, careful overclocking can provide additional frames per second. However, this should only be attempted after thorough research and understanding of the risks involved. Always monitor temperatures and stability when overclocking components.
Future-Proofing Your Investment
Upgrade Path Planning
Select components that allow for future upgrades. Choose a motherboard with additional RAM slots and expansion capabilities. Consider power supply wattage that accommodates potential future component upgrades without requiring replacement.
Maintenance and Care
Regular maintenance ensures long-term performance. Clean dust filters monthly and perform thorough internal cleaning every six months. Keep software updated and monitor component health using diagnostic tools to identify potential issues before they affect performance.
Troubleshooting Common Issues
Boot Problems
If your system fails to boot, check all power connections and ensure RAM is properly seated. Consult your motherboard's diagnostic LEDs or error codes for specific issue identification. Many boot problems can be resolved by reseating components or clearing CMOS.
Performance Optimization
For suboptimal gaming performance, ensure your monitor is connected to the graphics card rather than the motherboard. Update graphics drivers and adjust in-game settings to balance visual quality and frame rates according to your hardware capabilities.
Conclusion: Your Gaming Journey Begins
Building a high-performance gaming PC is a rewarding experience that results in a machine tailored to your specific needs and preferences. By carefully selecting components, following proper assembly procedures, and implementing optimization techniques, you'll create a system capable of delivering exceptional gaming experiences for years to come. Remember that the PC building community offers extensive resources and support, so don't hesitate to seek advice when needed.
For more detailed information on specific components, check out our gaming components comparison guide or explore our budget gaming PC builds for alternative options. Happy building!
